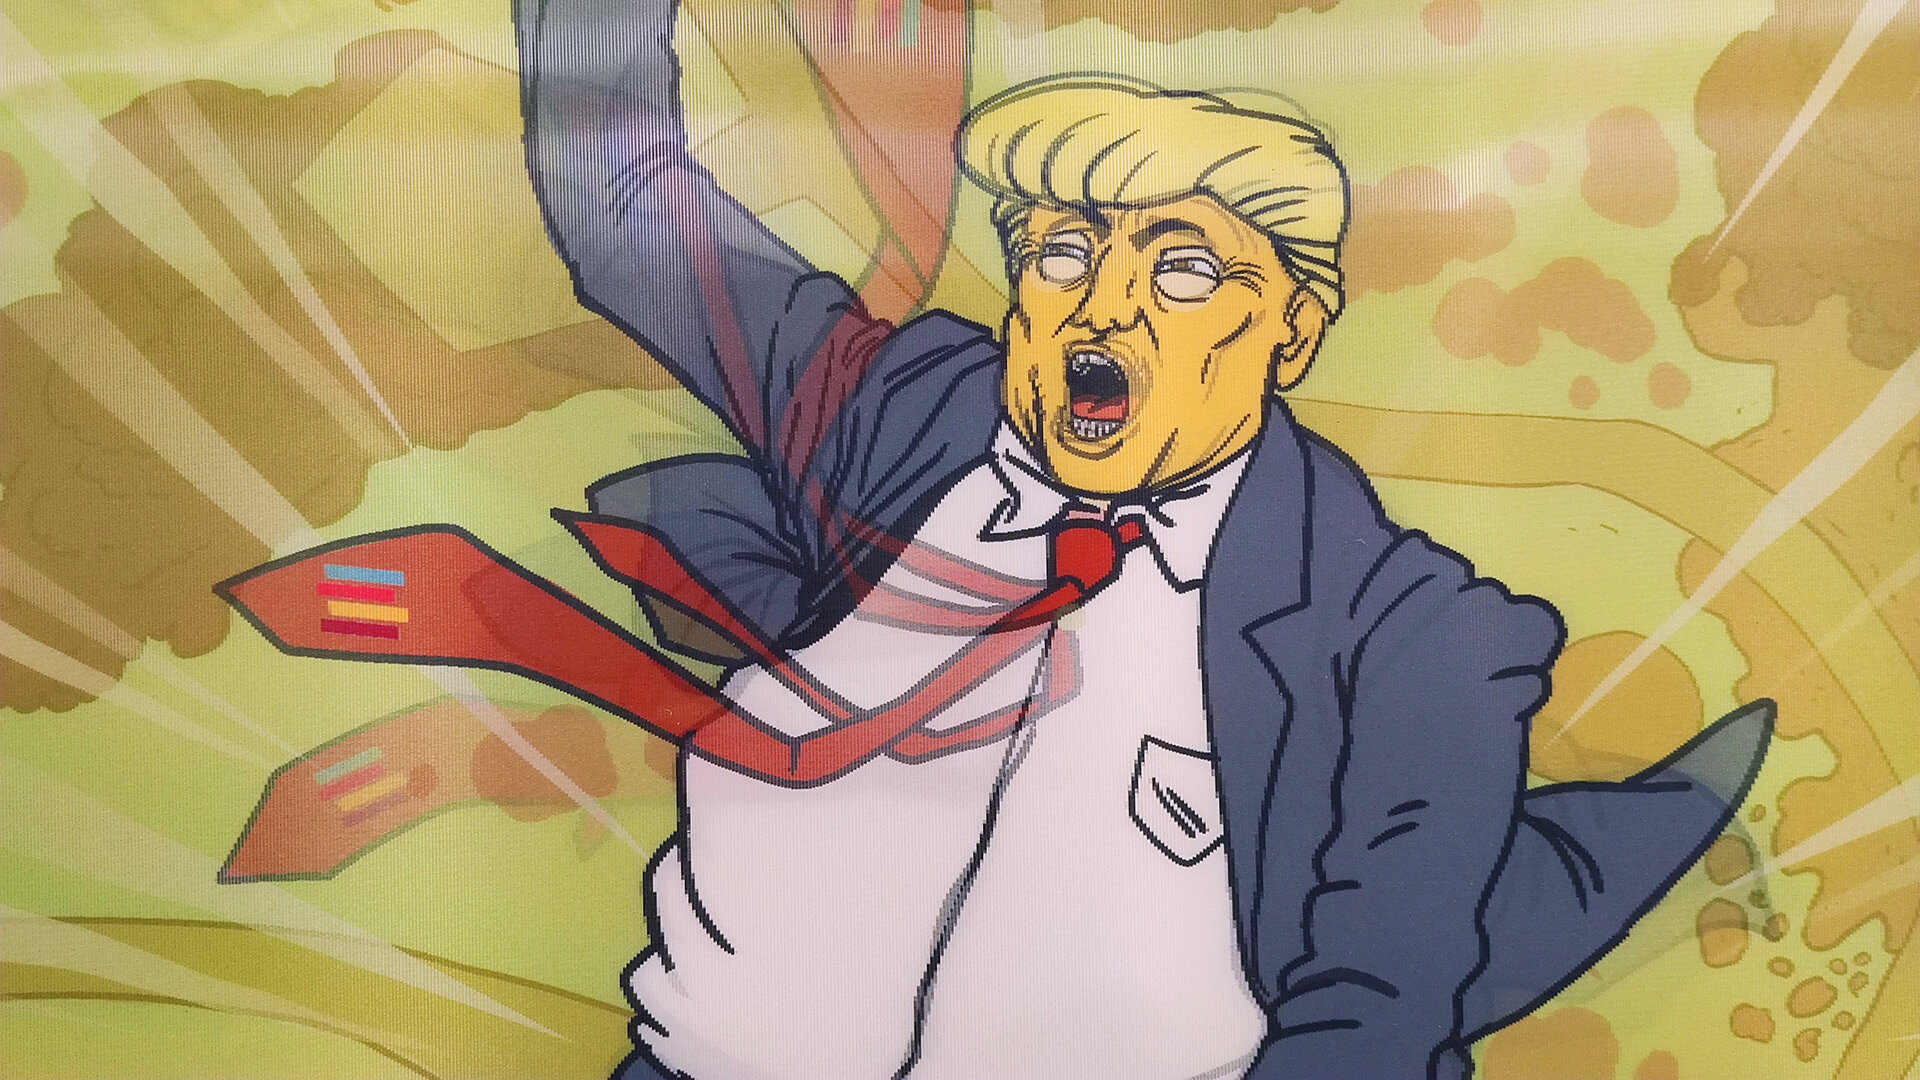
Donald Strangelove Or: How To Make A Lenticular Of Donald Trump Riding An Atom Bomb At Home
We know you love lenticular prints, it's impossible not to wave even the worst ones back and forth in your hands like a racoon with a shiny bottlecap. They are a kind of special modern magic, the promise of the future in an oddly retro optical medium that may be the only form of animation we have when civilization crumbles. But how are they made? And by that we mean, how can a gradeschool child with a printer and an old sock make one at home?
For this project we collaborated with the talented MC WOLFMAN! to create a piece based on the 1964 Stanley Kubrick film Dr. Stragelove, with president Trump standing in for Major Kong. Surprised to find there weren’t already a dozen lenticular versions of this we decided to make sure history went on record with at least one solid effort. While we would love a link back to this page the images are free to use without restriction so please enjoy, and be sure to check out the other work of MC WOLFMAN! as well. If you make something cool tag #donaldstrangelove to share.
Our process for making a lenticular print dispenses with the fancy bone crushing equipment in favor of an approach that offers results quick and cheap. It provides an easy on ramp for making a lenticular at home and is a simple introduction to the process. If you catch the lenticular bug you can choose to make the investment in equipment to take it to the next level or simply use this approach to prototype your ideas before sending them elsewhere for processing. Most importantly you will be able to make a lenticular print of president Trump riding a nuclear bomb from the comfort of your kitchen table.
The fun begins by heading to our resource page and grabbing a few necessary items. The first thing you will need are some lenticular plastic blanks with adhesive backing suitable for postcard size prints. The blanks suggested here are only one of several options but have the convenience of pre-applied adhesive and a resolution we have measured. On the resource page you will also find an interlaced image that has been prepared to work with this lenticular plastic. It is a composite of 4 different images that will create an animation when the plastic is placed over top. Finally you will need a soft cloth which can be sourced from your sock drawer.
Print onto a quality glossy photo paper using your printer’s best settings. Don’t rotate and be sure “fit to size” is not checked. Tape the top and bottom edges of the print to the table where you are working.
Peel back one inch of release liner from one of the short sides of the lenticular plastic to expose the adhesive.
Align the lenticular plastic by carefully placing it on top of the print and moving it around until the registration bar becomes a solid color. Be careful not to prematurely stick the plastic to the print. Hold in place with your hand.
Press the exposed adhesive onto the print with your finger and then slowly remove the release liner while simultaneously pushing down using a soft cloth to make even contact. Go slow so there are no bubbles.
And there you have it, an amazing lenticular print made with little more than DIY enthusiasm and a love for civilization. Wild success, congratulations!
(Of course its possible that your experience wasn’t so smooth and your print does not look like ours. What could have gone wrong?)

